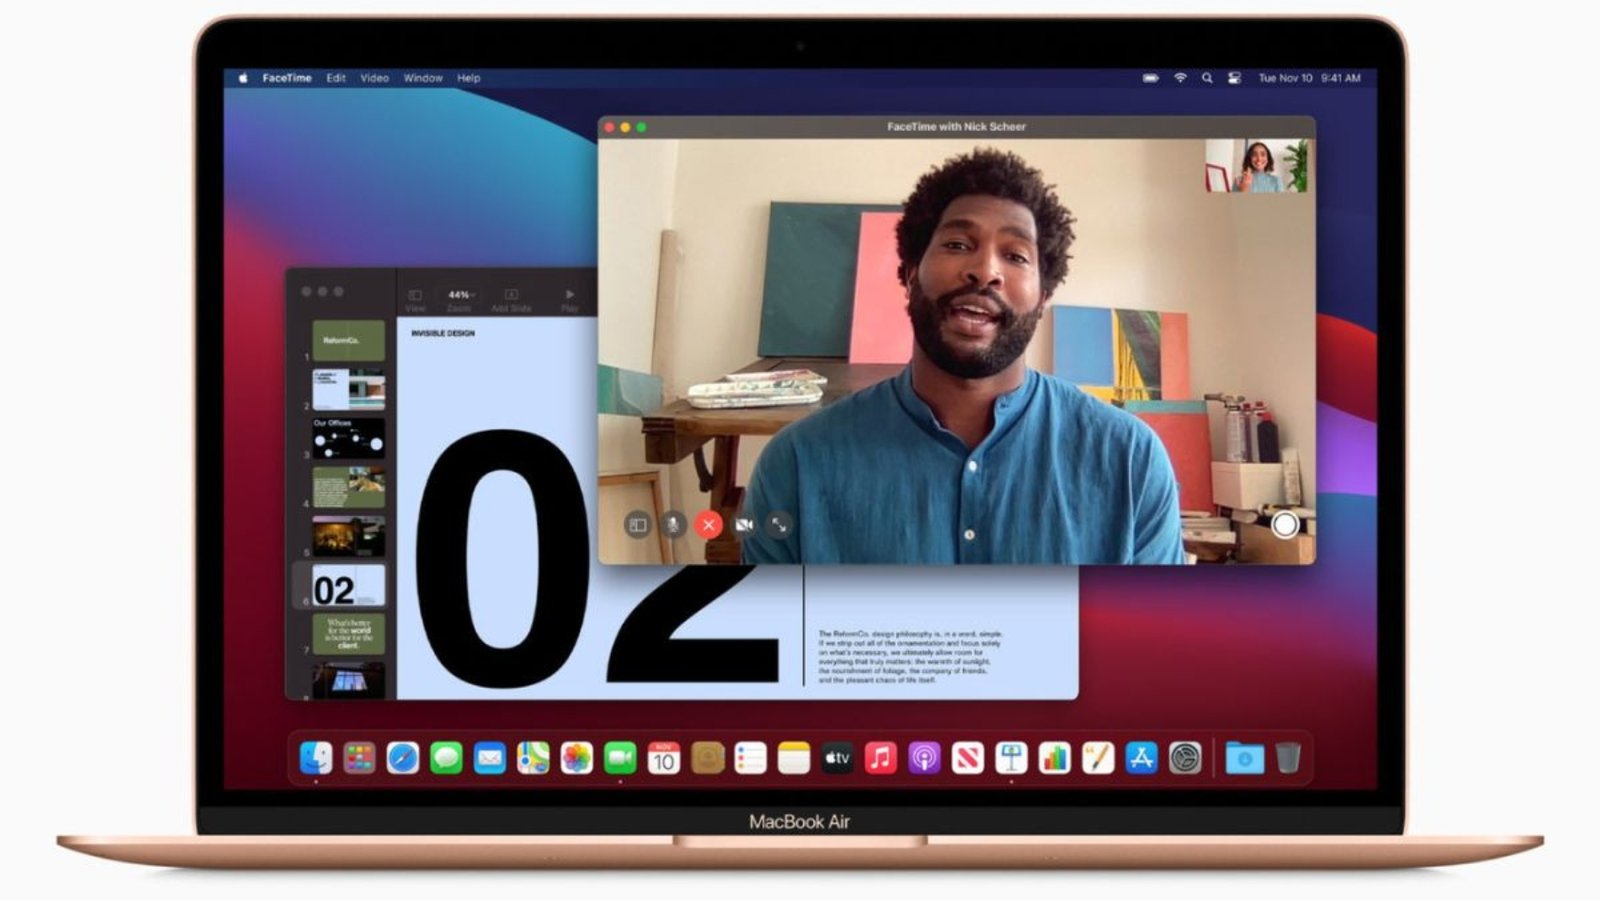
Learning how to take a photo on Mac is easier than you might think. Whether you’re snapping a quick selfie, capturing a professional headshot, or saving moments during a video call, your Mac offers built-in tools and features to get the job done effortlessly. From using the Photo Booth app to leveraging the Continuity Camera with your iPhone, there are multiple ways to take high-quality photos right on your Mac.
In this guide, we’ll walk you through step-by-step instructions for taking photos, editing them, and sharing them quickly—perfect for work, social media, or personal use. Let’s get started!

Method 1: How To Take Photo on Mac with Photo Booth
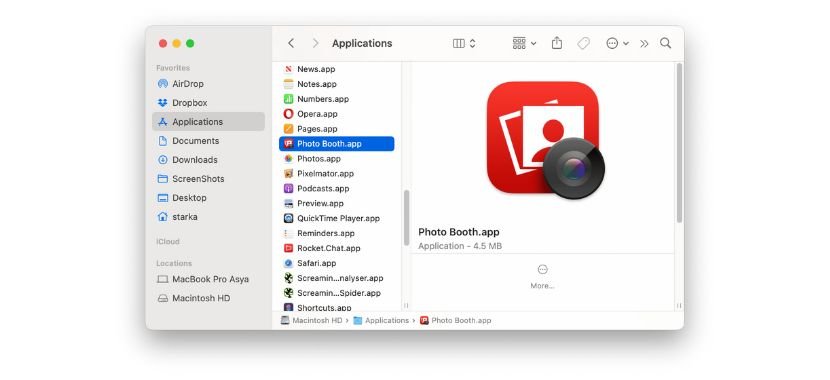
While Mac users can easily spot the camera on their screen, not everyone knows how to use it. Fortunately, you can take a photo using either third-party apps or Apple’s built-in Photo Booth app. To locate and open Photo Booth on your Mac, simply follow these steps:
- Open Finder and go to Applications, then click on Photo Booth to launch it.
(Alternatively, you can find Photo Booth in Launchpad or search for it using Spotlight by pressing Command + Space.)
- Once the Photo Booth is open, click the camera icon at the bottom center of the screen to take a photo.
(You’ll also see an Effects button. Click it to explore fun filters like Space Alien, Dizzy, and Frog. Try them out and pick your favorite!)
- After taking your photo, right-click on the image and select Export.
- Choose the folder or location where you’d like to save your photo, and you’re all set!
Method 2: How To Take Photo on Mac with An iPhone Camera
Have you ever noticed your Mac prompting you to use your iPhone as a webcam? This feature is called Continuity Camera. It allows your iPhone to act as your Mac’s webcam or microphone, taking advantage of its advanced camera quality and extra video effects. You can connect wirelessly or with a USB cable for added flexibility.
Before we dive into how to take pictures on your Mac, let’s first set up and check the Continuity Camera settings:
- Make sure your Mac is running macOS 13 or later and your iPhone has iOS 16 or later.
- Sign in to both devices using the same Apple ID.
- Turn on Wi-Fi and Bluetooth on both devices.
- Mount your iPhone securely and ensure it’s unlocked.
Ready to capture photos on your Mac with your iPhone’s camera? Here’s how to do it using Continuity Camera:
- Open any app on your Mac that supports camera or microphone access, like FaceTime or Photo Booth.
- When prompted, select your iPhone as the camera or microphone. (Make sure your iPhone’s screen is turned on to connect successfully.)
- Snap a photo just like you would on your iPhone. The photo will automatically save to your Mac.
Pretty cool, right? With this seamless feature, you can take high-quality photos directly on your Mac using your iPhone’s advanced camera. Give it a try and don’t forget to share these tips with others so they can make the most out of their Macs too!
Method 3: How To Take Photo on Mac with Right-Click Menu
If you often need to take photos on your Mac, there’s a faster way to open Photo Booth without navigating through folders and programs every time. By using a simple shortcut or utility tool, you can launch Photo Booth with just one click and start capturing photos instantly. Here is the process to take a photo on your Mac:
- Download, Install, and open MagicMenu on your Mac.
- Click Quick Access in the right menu, then select the + icon and click the folder icon.
- Navigate to the Applications folder, find and select Photo Booth, then click Open at the bottom.
- Choose Import to save the shortcut.
Now, to quickly open Photo Booth:
- Right-click anywhere on your desktop or inside an open folder.
- Go to Quick Access > Photo Booth and start taking photos instantly!
Method 4: How To Take Photo on Mac By Screenshotting
Screenshots are a quick and flexible way to capture anything on your Mac’s screen—perfect for saving moments during video calls or grabbing visual notes. The best part? Screenshot quality matches the photos you take with the Photo Booth.
Use CleanShot X for Advanced Screenshots
CleanShot X is one of the most powerful screen capture tools available. It lets you:
- Edit screenshots before saving them.
- Pin shots on your screen for easy reference.
- Mark up images with shapes, annotations, or blurs to hide personal information.
- Share or copy your captures instantly.
A handy menu appears as soon as you capture your screen, so everything you need is right at your fingertips. Plus, you can disable desktop icons for clutter-free screenshots.
Mac’s Built-in Screenshot Shortcuts
No CleanShot X? No worries—macOS has built-in screenshot tools:
- Full screen: Press Shift + Command + 3.
- Selected area: Press Shift + Command + 4, then drag to select.
- Specific window: Press Shift + Command + 4, then hit the space bar and click the window.
These shortcuts are great for quick captures, especially if you need step-by-step visuals for tutorials or presentations.
Record Videos and Capture Stills with Capto
Need more than screenshots? Capto is a fantastic tool for screen recording and editing. It lets you:
- Hide desktop clutter during recordings.
- Annotate videos after recording.
- Snap still images and edit them just like video files.
The Ultimate Screenshot Toolkit
Pairing CleanShot X and Capto gives you everything you need to capture, edit, and share screenshots, videos, and GIFs. Both apps are available on Setapp, so you don’t have to choose—get them both and start creating content like a pro!
Join Our Techysave Device Membership Plan
TechySave offers a comprehensive membership plan designed to provide exceptional value and convenience for your device protection needs. With single device plans starting as low as $7.95 per month, members enjoy a range of benefits that surpass traditional insurance programs.
Key Benefits of a TechySave Membership
Here are the key benefits of our Techysave membership plan:
- 24/7 Free Tech Support: Access expert assistance anytime to resolve your tech issues.
- Free 2-Day Shipping: Enjoy expedited shipping on all purchases, ensuring you receive your items promptly.
- Quarterly Free USB-C Cable: Receive a complimentary USB-C cable every four months, keeping your devices connected.
- Expedited Repairs: Benefit from prioritized repair services to minimize downtime.
- Additional Device Value: Get an extra 5% when selling your device to TechySave.
- Continuous Coverage: Maintain uninterrupted protection even when you upgrade your phone.
- No Expensive Fees: Avoid high costs associated with traditional insurance programs.
TechySave’s membership plans are flexible, accommodating students, individuals, families, and businesses. Members can protect almost any device, regardless of carrier, whether old or new. In cases of loss, theft, or unrepairable devices, TechySave provides replacement options at a wholesale cost plus 10%, with the possibility to upgrade depending on availability.
Membership Options:
- Student Plan: Tailored for students seeking affordable device protection.
- Single Plan: Ideal for individuals looking to safeguard a single device.
- Family Plan: Covers multiple devices, perfect for families.
- Business Plan: Designed for businesses needing protection for several devices.
By choosing TechySave, you can save hundreds compared to carrier programs while enjoying superior service and benefits. Join TechySave today and experience a smarter way to protect your devices.
To Warp Up
Knowing how to take a photo on Mac is simple and convenient, whether you’re using the built-in Photo Booth app, the Continuity Camera feature with your iPhone, or powerful tools like CleanShot X and Capto. With these options, you can capture high-quality images, screenshots, and videos effortlessly.
From quick snapshots to detailed edits, your Mac offers flexible ways to take photos and share them instantly. Now that you’ve learned the steps, you’re ready to make the most of your Mac’s camera features and start capturing moments like a pro!


Add a Comment
You must be logged in to post a comment