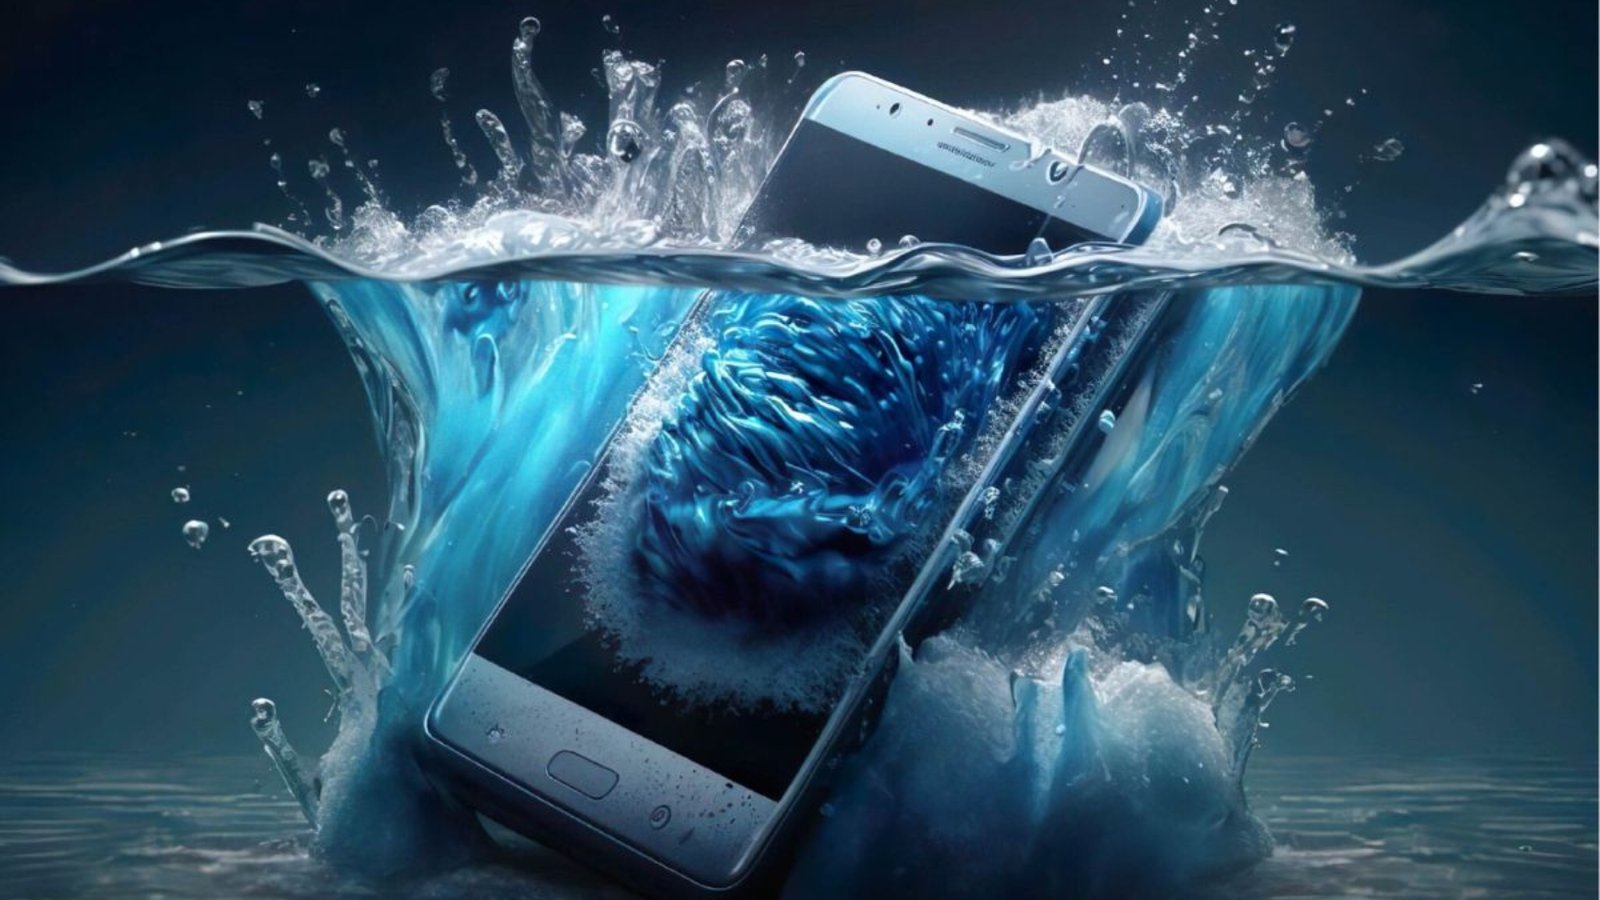
- Did your phone take an unexpected dive into the water? Stay calm because if you take the right steps quickly then you can save your phone! Whether it’s a splash, a spill, or a full-on drop into the sink, this guide will show you how to fix your water damaged phone step by step. You will find simple steps to rescue your device and avoid expensive repairs. Here’s what you’ll learn:
- The first thing you should do right after your phone gets wet.
- Why the rice trick doesn’t work and better ways to dry your phone, like using silica gel.
- How to remove water from your phone, fix unclear sounds, and find hidden issues.
- When to fix a water-damaged smartphone yourself and when to get help from an expert.
- Easy tips to avoid future accidents with waterproof cases and good habits.
Whether your phone took a dip in the pool or got splashed at the dinner table, this guide has the answers you need. Let’s get started and bring your phone back to life!
Emergency Checklist: What to Do Immediately
When your phone gets wet, quick action is critical. Follow this simple, step-by-step checklist to minimize water damage and improve your phone’s chances of survival.
Step-by-Step Emergency Actions
- Turn off your phone immediately: Leaving it on risks a short circuit, which can permanently damage internal parts. Avoid pressing buttons or trying to check if it’s still working.
- Remove the case, SIM card, and memory card: Take off your phone’s case and remove any removable parts like the SIM card and memory card. This allows air to flow into these areas and speeds up the drying process. If your phone allows it, remove the battery as well.
- Gently shake out the water: Hold your phone firmly and tilt it at different angles to help water drip out from the ports, buttons, and speakers. Be gentle to avoid spreading water further inside.
- Wipe the exterior dry: Use a lint-free or microfiber cloth to pat your phone dry. Avoid paper towels or tissues as they could leave particles behind that may block the ports.
- Place your phone in a dry, ventilated area: Put your phone on a clean and dry surface in a cool area with good airflow. Avoid direct sunlight, hairdryers, or microwaves, as these can overheat and damage your phone’s delicate components.
Tip: Acting quickly is your phone’s best chance for recovery. The sooner you start these steps, the better the outcome. You also can join TechySave membership plan to protect your phone from an unexpected massive damage.
Does Rice Work? Debunking Myths
The rice method is a popular DIY solution for fixing wet phones, but does it really work? Here’s the truth.
Why the Rice Method Isn’t Effective
While rice can absorb some moisture, it’s not fast or effective enough to dry your phone completely. More importantly:
- Internal Moisture: Rice cannot reach inside your phone, where most water damage occurs.
- Clogged Ports: Rice grains or dust can get stuck in your phone’s charging port or speaker grills, creating new problems.
- Myth Busted: Rice isn’t the safest or most effective way to fix a wet phone. It’s time to use better alternatives.
Better Alternatives to Rice
Silica Gel Packs
- Silica gel is specifically designed to absorb moisture and works much faster than rice. You can find these packets in product packaging for shoes, electronics, or handbags.
- Put your phone in a closed container with silica gel packs and leave it for 24–48 hours.
Drying Kits
- Specialized drying kits are designed to fix water-damaged electronics. These kits contain desiccants that are even more effective than silica gel.
Dehumidifiers
- If silica gel or drying kits aren’t available then place your phone near a dehumidifier. This will draw out moisture from the air and your phone.
How to Fix Your Water Damaged Phone (Step-by-Step Guide)
If your phone gets wet, acting quickly and following the right steps can make all the difference. This guide will show you exactly how to dry your phone safely, restore its functionality, and prevent long-term damage.
Step 1: Lay Your Phone Flat
Place your phone on a flat surface in a dry and ventilated spot. This will stop water from moving around inside and damaging other parts.
Why It’s Important:
Moving or shaking your phone too much can make the situation worse by spreading water to areas that weren’t originally affected.
Best Practices:
- Use a microfiber cloth or towel to pat the outside dry.
- Keep your phone away from heat sources like sunlight, ovens, or hairdryers.
- If possible, raise the phone a little (e.g., place it on a small plate) to let air flow underneath.
Tip: Place a fan nearby to speed up the drying process. A cool breeze works wonders!
Step 2: Use Silica Gel or Other Drying Methods
Silica gel is one of the best ways to absorb moisture trapped inside your phone. It’s often included in product packaging for shoes or electronics.
How to Use Silica Gel:
- Put your phone in a ziplock bag or airtight container.
- Surround it with silica gel packets to draw out moisture from every angle.
- Leave the phone in the container for at least 24–48 hours without disturbing it.
Other Drying Methods:
- Electronics Drying Kits: These kits are specially designed to dry out wet devices and often work faster than silica gel.
- Dehumidifiers: If silica gel or drying kits aren’t available then Place your phone near a dehumidifier
- Rice as a Last Resort: If you have no other options then you can use rice but it’s not the most reliable method.
Tip: Never use heat-based methods like ovens or hairdryers. They can permanently damage your phone’s sensitive parts.
Step 3: Remove Water from Speakers
If water is trapped in your phone’s speakers, you might notice unclear or distorted sound. Here’s how to fix it.
Using Sound Apps:
- Apps like Sonic or Speaker Cleaner emit specific sound frequencies that push water out of the speaker grills.
- Place your phone face down on a towel while running the app to catch any water droplets.
Manual Option:
- Play low-frequency sounds (100–200 Hz) on YouTube or any music app.
- Hold your phone at an angle so gravity helps remove the water.
Tip: If the sound still isn’t clear then you should consider a professional help to avoid further damage.
Step 4: Wait Before Turning Your Phone On
Even if your phone looks dry, water can still be hiding inside. Turning it on too soon can cause a short circuit.
How Long to Wait:
- Leave your phone untouched for at least 48 hours to make sure all the moisture has evaporated.
- f your phone was completely underwater, wait up to 72 hours to be extra sure it’s dry.
What to Check Before Powering On:
- Look at the charging port and SIM tray to make sure there’s no moisture.
- Use a flashlight to inspect areas like the headphone jack and speaker grills.
- If your phone doesn’t turn on after drying then you must visit a repair shop to avoid making the damage worse.
Identifying Water Damage in Your Phone
Sometimes, water damage isn’t obvious. Here’s how to check for signs:
Common Symptoms
- The screen flickers or stays black.
- The sound is distorted or muffled.
- The phone overheats during normal use.
- Buttons or the touchscreen stop responding.
Check for Liquid Contact Indicators (LCIs)
Most phones have LCIs near the SIM tray or charging port. These tiny stickers turn red or pink when exposed to water, confirming moisture has gotten inside.
When to Get Professional Help
Sometimes, trying to fix your phone at home just isn’t enough. Here’s how to tell when it’s time to take your phone to an expert.
Signs You Need Professional Repair
- Your Phone Still Isn’t Working After Drying: If your phone won’t turn on after letting it dry for 48 hours, or if it starts acting strange (like the screen flickering, the sound not working, or the phone getting hot), it’s time to call for help.
- You See Corrosion: Check the charging port, SIM tray, and headphone jack for any green, white, or black spots. These are signs of corrosion, meaning water has been sitting inside for a while.
- Your Phone Was in Saltwater: If your phone fell into saltwater, like at the beach, it needs extra care. Salt is very damaging to electronics and can ruin parts quickly. A professional can clean your phone properly and save it from permanent damage.
- The Battery Drains or the Phone Overheats: If your phone heats up or the battery runs out unusually fast, water might have damaged the power system inside. This can be unsafe if not fixed right away.
- The Screen or Buttons Don’t Work: If your screen won’t respond or the buttons, (like the power or volume) stop working, the water might damage the connections. These parts often need to be repaired or replaced by an expert.
How Professionals Fix Water-Damaged Phones
When you bring your phone to a repair shop, they’ll take steps to figure out the problem and fix it. Here’s what they usually do:
- Check for Damage: The technician will open your phone and look inside to see where the water has caused problems. They’ll check the battery, motherboard, screen, and other parts to figure out what needs fixing.
- Clean the Inside: For serious water damage, they might use something called ultrasonic cleaning. This is a special cleaning process that uses sound waves to remove dirt, water, and corrosion from the tiny parts inside your phone.
- Replace Broken Parts: If important parts like the charging port, battery, or screen are damaged, they’ll replace them with new ones. These replacements are made to fit your phone perfectly, so it works like it did before.
- Save Your Data: Even if your phone can’t be repaired, many repair shops can recover your photos, contacts, and other important data. This is a great option if you haven’t backed up your phone.
Pro Tips to Prevent Phone Water Damage
- Keep a waterproof pouch handy for trips and outdoor fun.
- Don’t charge your phone if it’s wet because it could cause serious damage.
- Check your waterproof case regularly by testing it with tissue paper.
- Wipe your phone right away with a soft cloth after any splashes.
- Always place your phone on dry surfaces and keep it away from sinks and water.
- Use water-repellent sprays to protect your phone from splashes.
- Attach a wrist strap or lanyard to stop accidental drops near water.
- Keep your phone away from open drinks to avoid spills.
Join the TechySave Device Membership Plan
Protecting your devices is easy and affordable with TechySave. Starting at just $7.95 per month, TechySave offers simple plans to keep your gadgets safe.
Key Benefits of a TechySave Membership
TechySave goes beyond basic protection to give you added value and peace of mind:
- 24/7 Customer Support: Assistance anytime for setup or troubleshooting.
- Fast & Free Shipping: Enjoy complimentary 2-day shipping on all orders.
- Free USB-C Cable Every 4 Months: Stay connected with regular cable replacements.
- Priority Repairs: Faster service when your devices need fixing.
- Extra Value When Selling: Earn 5% more when trading in devices to TechySave.
- Seamless Coverage: Stay protected, even when you upgrade to a new device.
- No Hidden Fees: Avoid the unexpected costs of other programs.
Membership Options:
TechySave offers plans to fit every lifestyle:
- Student Plan: Affordable protection designed for students.
- Single Plan: Perfect for protecting one device.
- Family Plan: Covers multiple devices for your entire household.
- Business Plan: Ideal for companies managing several devices.
Devices Covered
TechySave protects virtually any device, whether it’s new or old, and from any carrier. If your device is lost, stolen, or beyond repair, TechySave provides affordable replacement options, with the flexibility to upgrade based on availability.
Conclusion
If you dealing with a water-damaged phone can feel overwhelming, but now you know exactly How to fix your water-damaged phone. Acting quickly and using the right methods like silica gel instead of outdated tricks like rice gives your phone the best chance of recovery. If your phone still doesn’t work after trying these steps, professional help can save both your device and your important data.
The key to avoiding water damage in the future is prevention. Invest in waterproof accessories, handle your phone carefully around water, and build good habits to keep it safe. A little caution today can save you from big headaches tomorrow.
What’s next? Bookmark this guide so it’s ready when you need it, and share it with friends or family who might face the same situation.
FAQs About Water-Damaged Phones
How to Fix Your Water Damaged Phone Quickly?
The first thing you should do is turn off your phone right away to avoid further damage. Take off the case, remove the SIM card, and wipe the phone dry with a soft cloth. Then, place your phone in a sealed bag or container with silica gel for at least 24 hours. Avoid using heat sources like a hairdryer because they can damage the phone’s sensitive parts.
Does the Rice Method Work for Drying a Wet Phone?
No, the rice method isn’t the best way to dry a wet phone. Rice absorbs water very slowly and doesn’t reach the internal parts where moisture collects. It can also leave dust or grains in the ports. A better option is to use silica gel packets, which work faster and more effectively.
How Long Should You Wait Before Turning On a Water-Damaged Phone?
You should wait at least 48 hours before turning your phone back on. If it was submerged for a long time, wait up to 72 hours to ensure it’s completely dry. Turning it on too soon can cause permanent damage.
How Do You Remove Water from Phone Speakers?
To remove water from your phone’s speakers, you can use apps like Sonic or Speaker Cleaner. These apps play sound frequencies that push the water out of the speakers. You can also play a low-frequency sound on YouTube and tilt your phone slightly so gravity helps the water drain out.
Can You Fix a Water-Damaged Phone Yourself?
Yes, you can try fixing it yourself for minor water damage. Here’s how:
- Turn off the phone and remove the SIM card and case.
- Wipe the outside with a soft, lint-free cloth.
- Place the phone in a container with silica gel for 24–48 hours.
- If the phone doesn’t work after this, you may need professional help.
What Are the Signs of Water Damage in a Phone?
Common signs include:
- A flickering or black screen.
- Distorted or muffled audio.
- Overheating while in use.
- Buttons or the touchscreen not working properly.
You can also check the Liquid Contact Indicator (LCI), usually near the SIM tray or charging port. It turns red or pink if the phone has been exposed to water.
How Can I Prevent Water Damage to My Phone?
To prevent water damage, follow these tips:
- Use a waterproof case or pouch when near water.
- Avoid keeping your phone near open drinks or wet surfaces.
- Test your phone’s water resistance if it’s rated as water-resistant.
- Attach a wrist strap or lanyard if you’re near water, like at the beach or pool.
Is It Safe to Charge a Wet Phone?
No, it’s not safe to charge your phone if it’s wet. Water in the charging port can cause a short circuit. Wait until the port is completely dry before charging. You can use a flashlight to check for any remaining moisture.
Can Saltwater Damage Be Fixed?
Saltwater is very harmful to phones because it’s corrosive. If your phone falls into saltwater, rinse it carefully with fresh water to remove the salt (only if it’s safe to do so). Then dry it with silica gel or take it to a professional for cleaning to prevent corrosion.
Should I Seek Professional Help for a Water-Damaged Phone?
If your phone doesn’t turn on after drying, or if it overheats or shows signs of corrosion, you should seek professional help. Technicians can clean and repair the internal components and recover your data using advanced tools like ultrasonic cleaners.
Add a Comment
You must be logged in to post a comment